
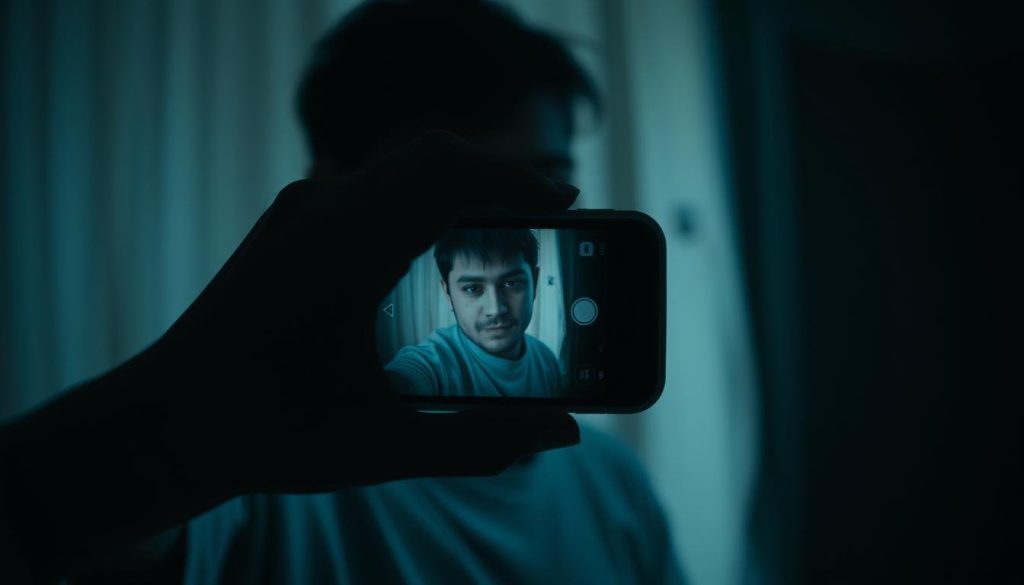
Modern smartphones have revolutionized the way we capture moments, especially in challenging lighting conditions. Devices like the iPhone 16 Pro, Pixel 9 Pro, and Samsung Galaxy S24 Ultra now come equipped with advanced night modes and long-exposure capabilities. These features allow you to create stunning visuals without the need for bulky equipment.
Gone are the days when you needed a professional camera to shoot in dim environments. Today, your smartphone can handle it all. Whether you’re capturing a sunset or a cozy evening indoors, the right techniques can make a world of difference. With a little practice, you can unlock the full potential of your device.
At Final Cut Multimedia, we understand the power of storytelling through video. As the most trusted video production company in North Carolina, we’re here to support your creative journey. Call us at 704-491-1283 or visit www.finalcutmultimedia.com to learn more.
Key Takeaways
- Modern smartphones excel in low-light conditions with advanced features.
- Devices like the iPhone 16 Pro and Samsung Galaxy S24 Ultra offer night modes.
- You don’t need heavy equipment to capture high-quality videos.
- Final Cut Multimedia provides trusted support for video production.
- Experiment with your smartphone to unlock its full potential.
Understanding Low Light Filming on Your Cell Phone
Lighting plays a pivotal role in transforming ordinary videos into extraordinary ones. Whether you’re shooting indoors or outdoors, the quality of light directly impacts the clarity and mood of your footage. Modern smartphones, like the iPhone 16 Pro and Samsung Galaxy S24 Ultra, are designed to handle challenging lighting conditions, but understanding the basics can elevate your results.

Why Lighting Matters in Filming
Lighting is the backbone of any great video. It affects how colors appear, how sharp the image looks, and even the emotional tone of your footage. Natural light, like the golden hour, creates warm and inviting visuals. Artificial light, such as lamps or LED panels, can add depth and focus to your scenes.
Modern phones use advanced sensors to balance these light sources. However, relying solely on your device’s auto settings might not always yield the best results. Understanding how to manipulate light can help you capture stunning visuals in any condition.
Common Challenges in Low Light Scenarios
Filming in dim environments comes with its own set of hurdles. One of the most common issues is image noise, which appears as grainy spots in your footage. This happens when the phone’s sensor struggles to capture enough light.
Another challenge is motion blur. In low light, the shutter speed slows down to let in more light, which can make moving objects appear blurry. Capturing fine details, like textures or facial expressions, can also be difficult when lighting is poor.
Here’s a quick comparison of how different phones handle low-light conditions:
| Device | Noise Reduction | Motion Blur Control | Detail Preservation |
|---|---|---|---|
| iPhone 16 Pro | Excellent | Good | High |
| Samsung Galaxy S24 Ultra | Good | Excellent | High |
| Pixel 9 Pro | High | Good | Excellent |
As Christian Nachtrieb, a professional photographer, puts it: “The right lighting can turn a simple moment into a masterpiece.” At Final Cut Multimedia, we specialize in helping you navigate these challenges. Our team provides expert advice to ensure your videos shine, no matter the lighting conditions.
Tips for Filming in Low Light with a Cell Phone
Capturing stunning visuals in dim environments is easier than ever with today’s smartphone technology. By following a few simple steps, you can elevate your videos and make the most of your device’s capabilities.
Start by activating your phone’s night mode. This feature enhances brightness and reduces noise, making your photo clearer. If your device doesn’t have night mode, use manual settings to adjust ISO and shutter speed. A higher ISO lets in more light, but be cautious of graininess.

Find the best available light source. Natural light, like a window or streetlamp, works wonders. If indoors, position your subject near a lamp or use a portable LED light. This ensures your shot remains bright and detailed.
Steady your phone to avoid blur. Use a tripod or rest it on a stable surface. If neither is available, hold your device with both hands and keep your elbows close to your body. This reduces shake and keeps your video sharp.
Experiment with editing apps to fine-tune your footage. Adjust exposure, contrast, and color balance to achieve professional-level quality. Apps like Snapseed or Lightroom Mobile are great for enhancing your photo after capturing it.
Finally, take your time to compose your shot. Wait for the right moment and frame your subject thoughtfully. With practice, you’ll master low-light filming and create videos that truly stand out.
Mastering Camera Settings and Night Mode
Mastering your phone’s camera settings can transform your low-light footage. Modern devices like the iPhone 16 Pro and Pixel 9 Pro come equipped with advanced features that let you take control of your filming experience. By understanding these tools, you can achieve professional-quality results even in dim environments.

Activating Night Mode and Manual Adjustments
Most smartphones now include a night mode feature, which automatically enhances your shots in low-light conditions. On devices like the iPhone 16 Pro, this mode activates when the sensor detects dim lighting. It combines multiple exposures to reduce noise and improve clarity.
For greater control, switch to manual mode. Adjust the ISO to manage your camera’s sensitivity to light. A higher ISO brightens your shot but can introduce grain. Pair this with shutter speed adjustments to balance movement and clarity. Slower speeds let in more light but may cause blur for moving subjects.
Optimizing Exposure Settings for Better Image Quality
Exposure plays a critical role in low-light filming. It determines how bright or dark your footage appears. Use your phone’s exposure slider to fine-tune this setting. Aim for a balance that highlights details without overexposing the scene.
Here’s a comparison of how leading smartphones handle exposure and noise reduction:
| Device | Exposure Control | Noise Reduction | Manual Adjustments |
|---|---|---|---|
| iPhone 16 Pro | Excellent | High | Full Control |
| Pixel 9 Pro | Good | Excellent | Limited |
| Samsung Galaxy S24 Ultra | High | Good | Full Control |
For long exposure shots, use a tripod to stabilize your device. This minimizes shake and ensures sharp images. If you don’t have one, rest your phone on a steady surface or hold it firmly with both hands.
Experiment with these settings to find what works best for your environment. With practice, you’ll unlock the full potential of your smartphone’s camera and capture stunning low-light footage.
Utilizing Accessories and Techniques for Better Shots
Enhancing your smartphone’s capabilities with the right accessories can turn challenging conditions into creative opportunities. Whether you’re shooting in dim environments or experimenting with unique angles, the right tools can make all the difference. From tripods to external lights, these additions help you achieve professional-quality results without breaking the bank.
Using Tripods and Stabilization Tools
A tripod is one of the most essential accessories for steady shots. It eliminates motion blur, ensuring your footage remains sharp and clear. If you don’t have a tripod, look for makeshift supports like a nearby wall or bench. These can stabilize your device and improve the overall quality of your picture.
For added flexibility, consider a smartphone gimbal. These tools provide smooth movement and reduce shake, even in dynamic environments. They’re especially useful for capturing action shots or panning scenes. With the right stabilization, you can transform ordinary footage into something extraordinary.
Leverage External Lights and Reflections
External lighting can dramatically enhance your shot. Portable LED panels are a popular choice, offering adjustable brightness and color temperature. Position these lights to highlight your subject and create depth in your scene. Avoid relying on your phone’s flash, as it can produce harsh and unnatural results.
Reflections can also add a creative touch to your footage. Use mirrors, glass, or even water surfaces to bounce light and create unique effects. Experiment with angles to find the most visually appealing composition. These techniques can elevate your work and make it stand out.

| Accessory | Primary Use | Best For |
|---|---|---|
| Tripod | Stabilization | Static shots, long exposures |
| LED Panel | Lighting | Indoor scenes, subject highlighting |
| Gimbal | Motion control | Action shots, smooth panning |
By incorporating these tools into your workflow, you can tackle even the most challenging conditions with confidence. Experiment with different setups to discover what works best for your creative vision. With practice, you’ll unlock new possibilities and take your smartphone filming to the next level.
Creative Low Light Filming Techniques
Exploring creative techniques can elevate your smartphone footage, especially in challenging lighting conditions. By experimenting with long exposure and motion effects, you can transform ordinary scenes into visually stunning masterpieces. Post-processing adjustments further enhance your results, making every detail pop.

Playing with Long Exposure and Motion Effects
Long exposure is a powerful tool for capturing dynamic scenes. By slowing down the shutter speed, you can create mesmerizing light trails or smooth water effects. This technique works exceptionally well in urban environments, where artificial lights add depth and vibrancy to your shots.
To avoid blur, stabilize your device using a tripod or a flat surface. Experiment with different settings to find the perfect balance between light and motion. This approach allows you to capture the essence of movement while maintaining clarity.
Editing and Post-Processing for Enhanced Results
Shooting in raw format gives you maximum flexibility during editing. Apps like Adobe Lightroom Mobile or Snapseed offer advanced tools for noise reduction and exposure adjustments. These features help you reveal hidden details in shadows and highlights, ensuring your footage looks professional.
Adjusting exposure and shadows can dramatically improve the quality of your video. Fine-tune these settings to enhance the mood and focus on your subject. With the right app, you can achieve cinematic results that tell a compelling story.
Don’t be afraid to experiment with different modes and settings. Creative techniques like long exposure and post-processing can push the boundaries of what your smartphone can achieve. Embrace these tools to unlock your full potential and create videos that stand out.
Conclusion
Unlocking the full potential of your smartphone’s camera in dim settings is simpler than you think. By mastering features like night mode and adjusting ISO settings, you can capture stunning visuals even in challenging conditions. Stabilizing your device with a tripod or steady surface ensures sharp, clear images every time.
Experimenting with manual adjustments and post-processing tools can further enhance your results. Whether you’re shooting a cityscape or a cozy indoor scene, these techniques help you achieve professional-quality photos with ease.
At Final Cut Multimedia, we’re here to support your creative journey. Visit www.finalcutmultimedia.com or call 704-491-1283 to learn more about our expert video production services. Take your skills to the next level and create visuals that truly stand out.
FAQ
Why is lighting important when filming with a cell phone?
Lighting plays a crucial role in determining the quality of your video. In low light conditions, your phone’s sensor struggles to capture details, leading to grainy or dark footage. Proper lighting ensures better image clarity and reduces noise.
What are the common challenges of filming in low light?
Low light scenarios often result in underexposed images, increased noise, and loss of detail. Your phone’s camera may also struggle with focusing, making it harder to capture sharp and vibrant shots.
How can I improve my cell phone’s performance in low light?
Use Night Mode or manual settings to adjust ISO and shutter speed. A tripod can stabilize your phone, reducing motion blur. Additionally, external lights or reflective surfaces can enhance brightness and detail.
What settings should I adjust for better low-light results?
Lower the ISO to reduce noise and slow down the shutter speed to allow more light into the sensor. If your phone supports it, shoot in RAW format for greater flexibility during editing.
Can accessories help with low-light filming?
Yes! A tripod ensures stability, while external lights or LED panels can brighten your subject. Reflectors or white walls can also bounce light, improving overall image quality.
How can I creatively use low light in my videos?
Experiment with long exposure to capture motion trails or light painting. Post-processing apps like Adobe Lightroom or Snapseed can enhance colors and reduce noise for a polished final result.
Should I use flash in low-light conditions?
Flash can create harsh shadows and unnatural lighting. Instead, rely on Night Mode or external light sources for a more balanced and professional look.